[Come take a look at a few of my...]
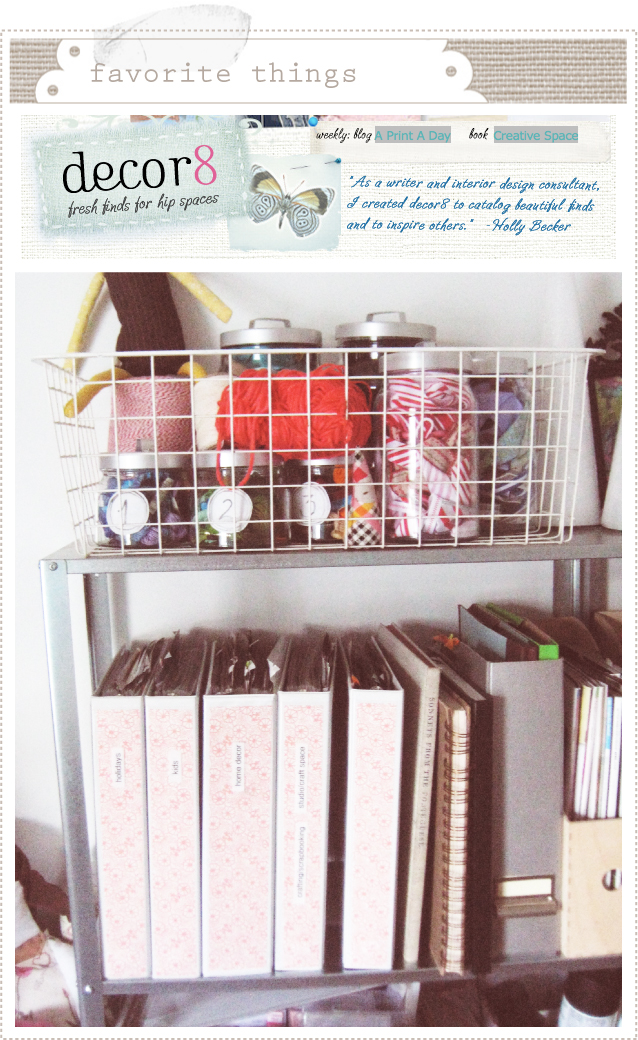
Catch me over at decor8 today and see a few of my favorite nook/spots/things in my home.
Thanks Holly for inviting me to be a part of such a wonderful and inspiring series!

8.27.2009[Come take a look at a few of my...]
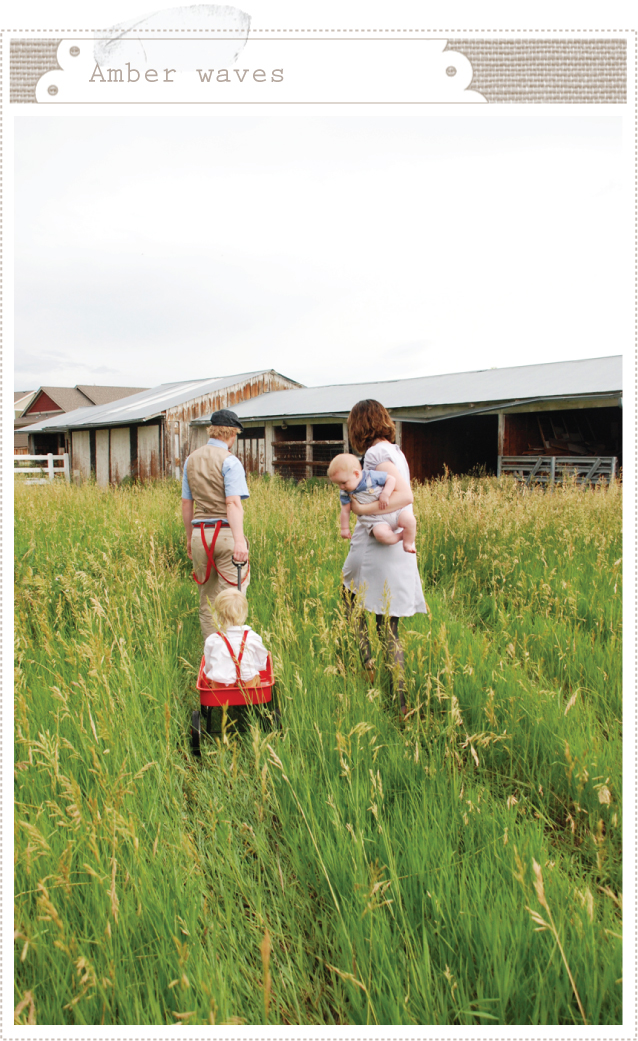
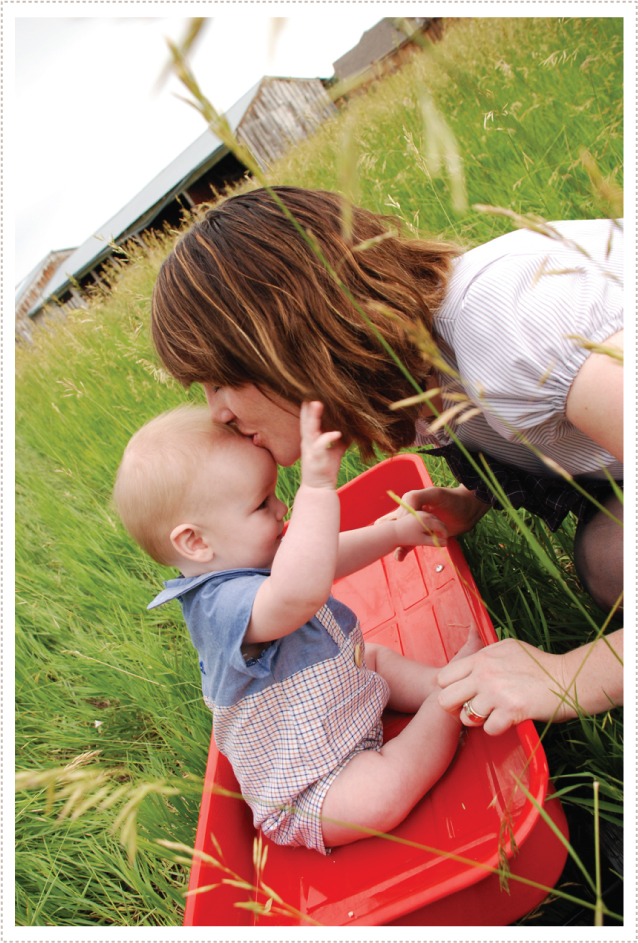
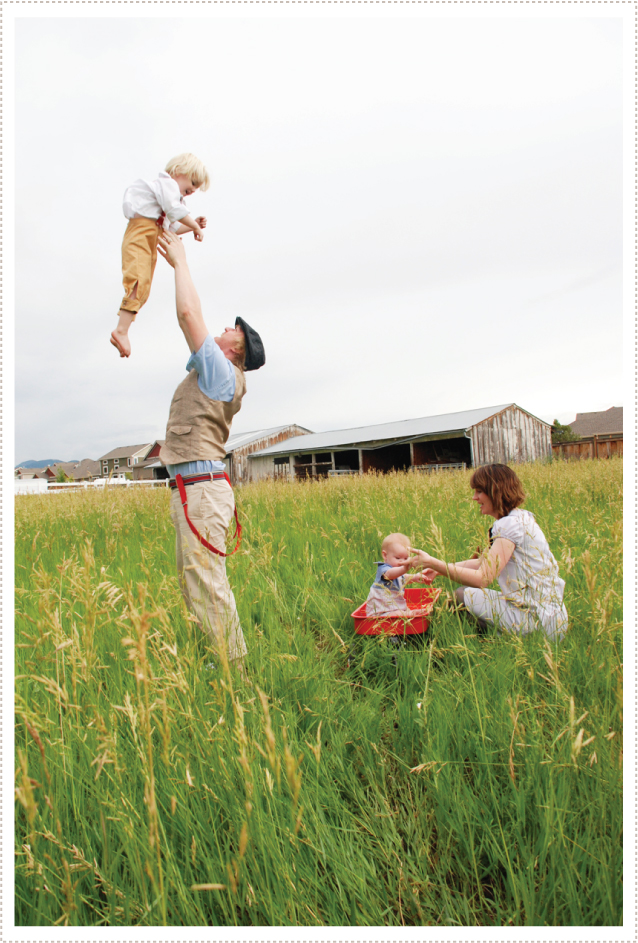
8.24.2009[bringing up boys, and...]
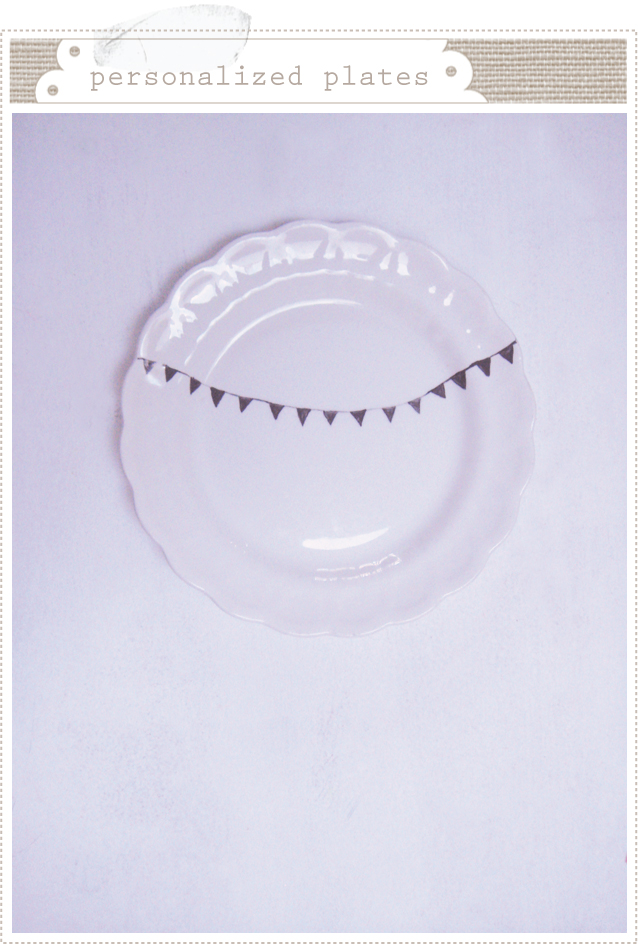
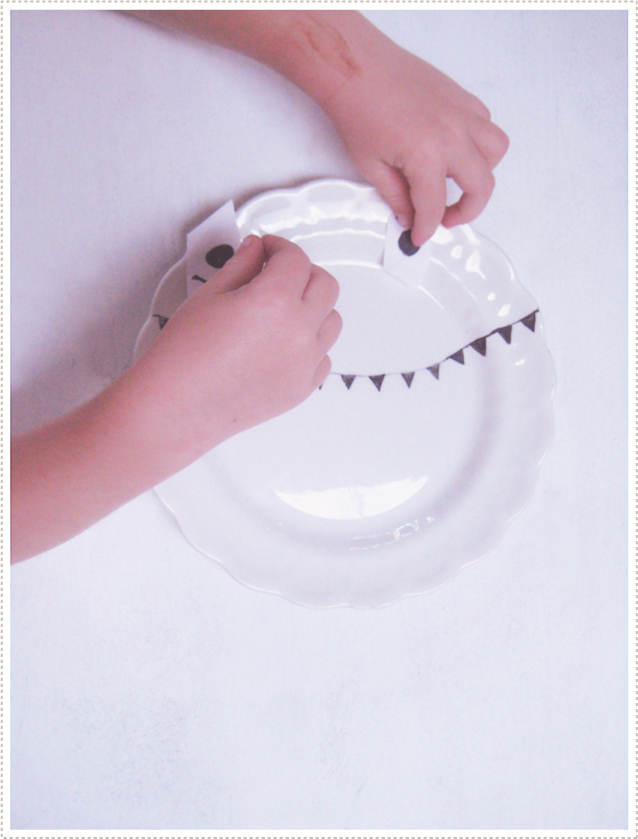
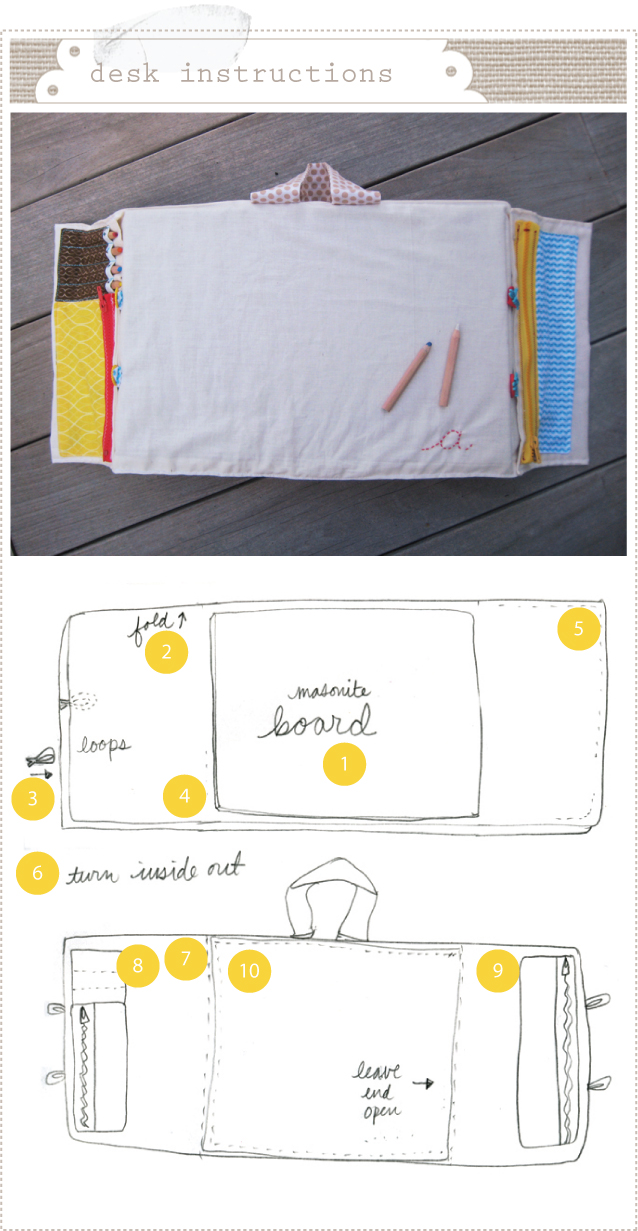
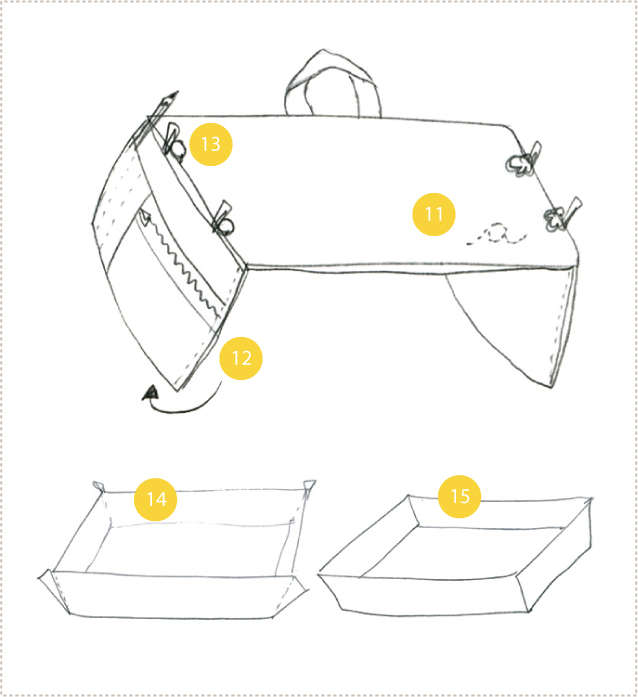
8.20.2009[a kind of, sort of, tutorial of sorts...]
8.13.2009[my new little obsession]
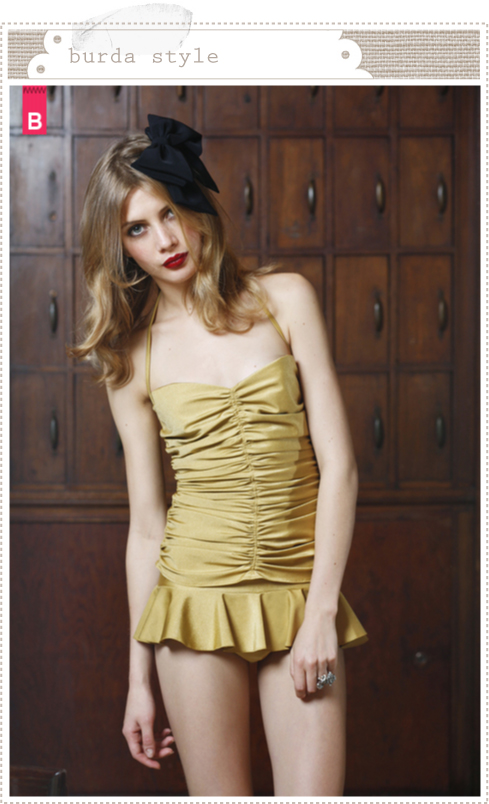
8.11.2009[sew your own vintage swim suit]
8.06.2009[Vintage Americana part II]
8.05.2009[blueberry muffins and...]
Subscribe to:
Posts (Atom)

My name is Merrilee and I am an illustrator, painter, dabbling designer, crafter, seamstress and mother of two boys and a wee little girl. 


Featured Posts
ELESEWHERE: Illustration
subscribe to mer magmy shoes
designed for Fluevog |